Craft Fair Booth Setup Ideas: 3 Ways to Display Your Banner.
You’ve made the products, packed the bins, and somehow fit an entire little shop into the back of your car. Now comes the fun part: setting up a craft fair booth that makes people want to stop and see what you brought.
Start by looking at your booth the way a shopper will. From the aisle, can they tell what you sell? Once they step closer, can they see the prices and figure out where to pay? A well-placed banner, a few changes in display height, and a clear checkout spot can make the whole table easier to shop.
Start with the view from the aisle
Before you fill every inch of your table, pick one display to lead with. It could be your bestselling candles, a collection of colorful mugs, or a little Gifts Under $25 section. Give that group a riser or a small crate so it catches the eye, and keep a little breathing room around it.
Then step back as far as the aisle allows. If your display draws your eye but your business name disappears, it’s time to move the banner. Here are three places to try.
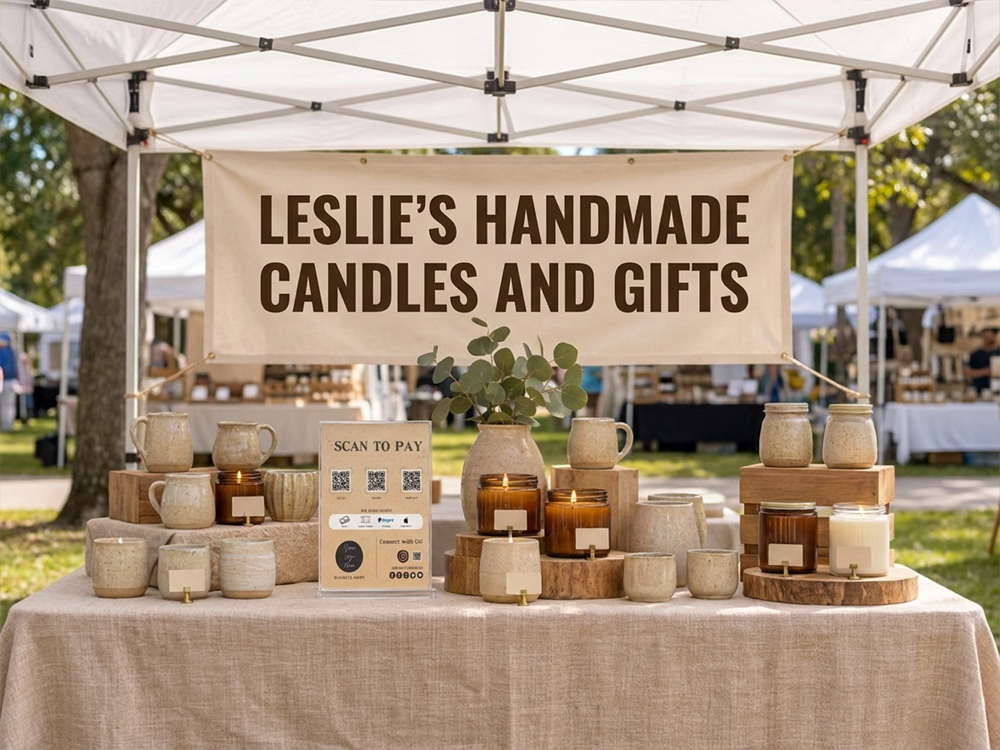
1. Hang your banner across the front of your canopy
Best for outdoor markets where shoppers can see your booth from across the aisle.
A canopy-front banner puts your business name above the products and displays. Keep the wording short enough to take in while walking. A logo plus “Hand-Poured Candles” or “Handmade Pottery” gives shoppers a quick reason to come closer.
Measure before you order. Set up your canopy and measure between the points you can actually attach the banner to. Check how much room you have below those points so the banner doesn’t hang into the entrance. Confirm your event’s rules and your canopy’s mounting options before choosing a size.
Try this layout. Put your featured products toward the aisle-facing corner and your checkout toward the other end. The banner tells shoppers what you sell, the display gives them somewhere to start, and checkout has its own spot.
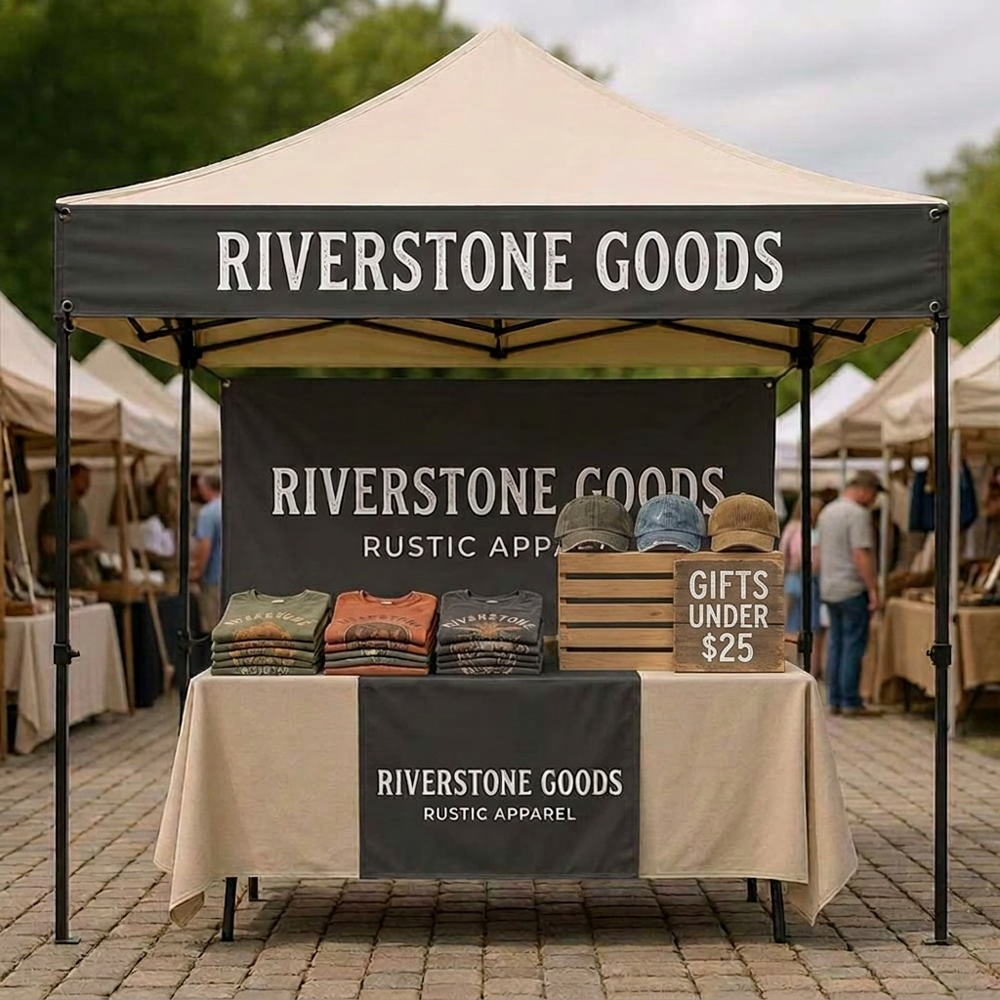
2. Use a backdrop banner behind your display
Best for booths with space behind the table and a clear view from the aisle.
A backdrop banner gives your booth a focal point and makes a great background for photos. It’s also a good choice if you want your branding visible behind a collection of products without using up tabletop space.
Measure before you order. Check the usable width and height of the back wall or display frame. Then set up your tallest rack and look at it from the aisle. If it covers the spot where your business name would go, move the rack to one side or ask your designer to place the name higher in the layout.
Try this layout. Use a taller display at one end, a lower featured collection in the middle, and a price sign beside the products it applies to. Take a quick phone photo from the aisle. It’s easier to spot a hidden logo or crowded corner in a photo than while you’re standing behind the table.
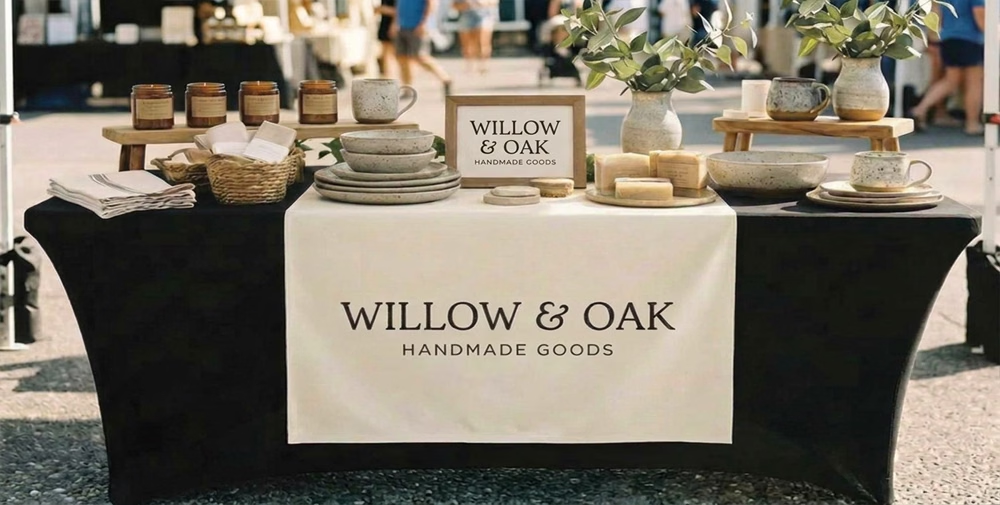
3. Put a banner on the front of your table
Best for indoor craft fairs, school markets, and events where your whole booth is one table.
A table-front banner can turn a plain folding table into a branded display. It’s especially handy when you don’t have a canopy or the organizer limits what you can hang behind you.
Measure before you order. Measure the table you’re bringing and the height from the tabletop to where you want the banner to end. Leave clearance above the floor and check how you’ll attach it with your tablecloth in place.
Try this layout. Center the banner on the table front and keep baskets or spare stock from blocking it. If people tend to gather right in front of your table, repeat your business name on a small tabletop sign where it can still be seen.
Give shoppers three clear places to look
Here’s a quick layout you can set up on a single table:
Spot
What to put there
The end shoppers see first
A small featured collection on a riser, with a sign like Gifts Under $25
The middle
Your main products, grouped by type, with prices close to the items
The checkout end
A Scan-to-Pay sign, card reader, shopping bags, and a little space to set purchases down
Before the doors open, do one last aisle walk. Can you read your business name? Can you tell what the featured items cost? Is there a clear place to pay? Fix anything that makes you stop and squint. Then take a picture so you can recreate the setup at your next show.
Start with a photo of your setup and the measurements for your favorite placement. At Designer Printables, we design, print, and ship custom vinyl banners for market vendors and makers. Tell us what you sell, where the banner will hang, and what you want shoppers to see first.
Support Local Tees | Shop Small. Wear Your Values.
Show your support for the farmers, artists, makers, and small businesses that make your community special. Shop our collection of fun Support Local tees designed for people who believe in shopping small and buying handmade. $24 and ship quickly. Reach out to designer@designerprintables.com for custom tee shirt design.
Support Local Makers Comfort Colors® Tee to Pinterest (opens in a new window)